Long exposure photography with homemade welding glass ND filter
One of the things I really enjoy with photography is learning something new and applying it to get a really unique image. I immediately took a liking to long exposure photography after giving it a try at night in Old Montreal, years ago. It wasn't long after that I realized you could do the same thing during the day, with the use of a dark ND filter.
Although I decided to invest in a professional grade ND110, I really wanted to see just how effective a homemade version might be so I decided to try welding glass.
The ND110 is your standard screw-in filter, and will set you back about $100, plus shipping. The welding glass filter costs about 10% of that and, depending on some of the materials you may have laying around, could be even less.
Here are the supplies that you will need (plus your camera) to get out into the world of daytime long exposures:
Construction:
First, you will need to gather your materials:
Welding Glass: Available from your local hardware store such as Home Depot or Lowes. This one cost about $7 and you can barely see through it. It was actually the only one they had, so that made it easy.
Filter Mount: The filter mount I used is actually a 58mm > 77mm filter adapter. It cost about $2 on eBay with shipping included. Alternatively, you can use an old filter for the matching thread size of your favorite lens.
Heavy Duty Tape: Make sure to use something really grippy. I used Gorilla tape.
You will need to attach the welding glass to your camera in order to get the desired result. There are a few ways in which you can get this done:
- The use of rubber bands to hold the filter onto your camera.
- Pro: easy to clean. Con: difficult to put on.
- Affixing a filter mount
- Pro: easy to put on. Con: difficult to clean.
I won't go into too much detail here because, quite simply, all you are doing is taping the filter mount (or filter) to the glass, or making use of rubber bands to keep the filter in place.
I will be clear about a few tips that you will want to look out for:
- Make sure that you do not let any light in between the filter and the glass.
- Work with very small strips of tape at once, due to the circular nature of the filter, you will get less overlap and slack.
- Using the filter thread converter, it gave me a small area to use for grip. Using just a filter ring will not allow you that luxury.
Once you have the glass attached to the filter, you're in good shape and ready for the next phase.
Setting it up:
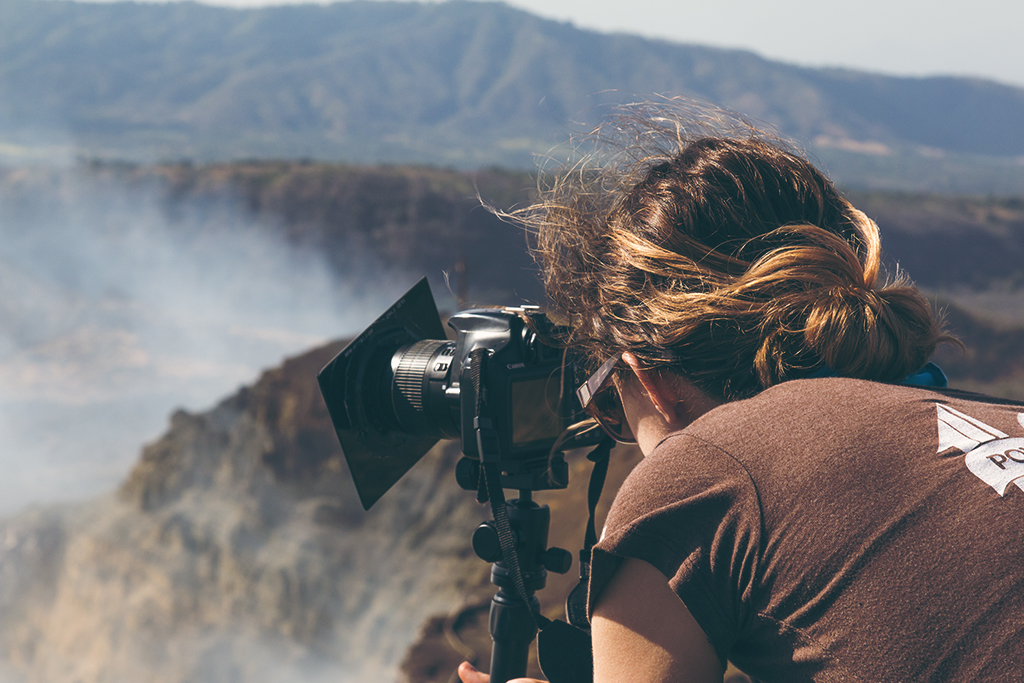
Attach your new filter rig onto the camera-mounted lens of choice and turn your camera on. Now that your setup has the ability to stretch exposures far longer than before, we need to calibrate your camera to correct the color, or color-cast, that the filter is going to cause.
*Be sure to set focus to 'Manual' as forcing the barrel accidentally through the focus range while set to Auto can be damaging to your lens.
Note the camera settings shown here. As the filter is on, it will take a lot of exposure for the sensor to see anything. Note the rather high ISO, wide aperture, and 4" shutter speed. Another thing to note: set to Auto White Balance for your test shot.
Next, you will need to take a test shot. See the above photo and use similar settings to get a quick test shot. The test shot is going to see exactly how much color distortion is going to show up because of the filter. Most filters you will find will be either green, or purple. By holding a pure white object, find out for yourself what type of color-cast you are working with.
Now that you have your test shot, we are going to tell the camera to correct exactly what we're seeing there. For most Canon cameras:
- Select 'MENU'
- Scroll to 'Custom White Balance'
- Select on the test photo from the previous step
- Press 'SET' and select 'OK'
- Click 'OK' to acknowledge "Set WB to Custom" message
- Set White Balance to 'Custom'
What this will do is take the test image, assuming that it is completely white. Because of the filter, it casts green (or purple) onto the white notebook. The camera picks these colors up, and pushes its complimentary color, purple (or green), and balances the color. If you take another test shot, you will notice that it is exposed much closer to the proper color.
Now that you have your new toy set up, all you need to do is go out there and find something to shoot. As a default, I have included my go-to settings for long exposures. Stopping all the way down to f/22, ISO 100, and a lengthy shutter speed can give you some room to learn and experiment.
Now that your exposure time can be drawn right out, you can take advantage of certain things you couldn't before. For brainstorming sake, here are a few of my favorites:
- Anything with moving water:
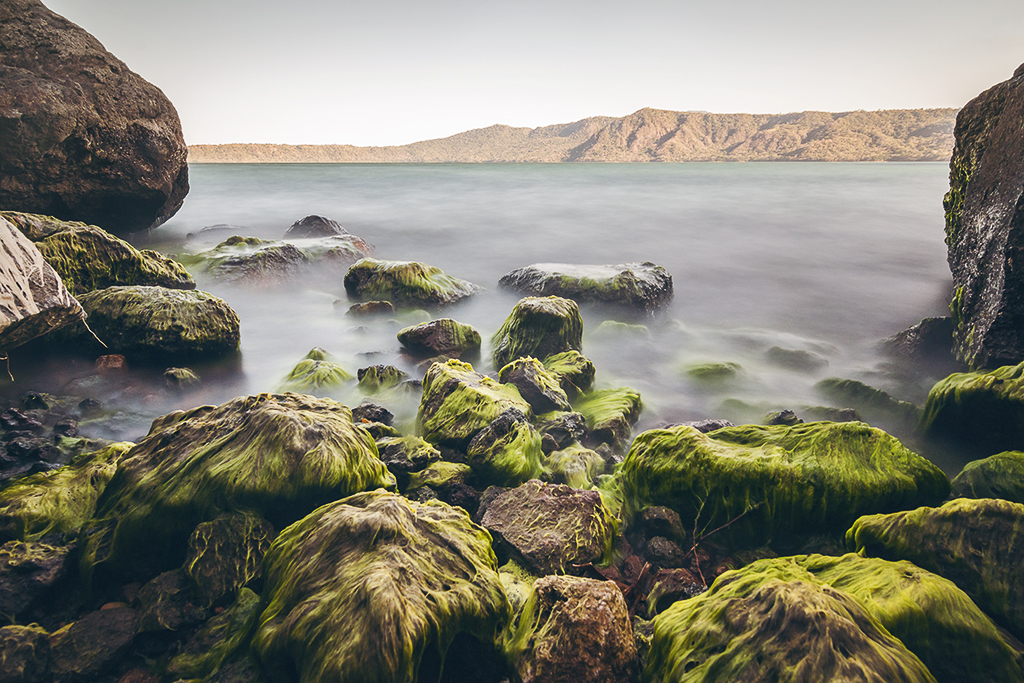
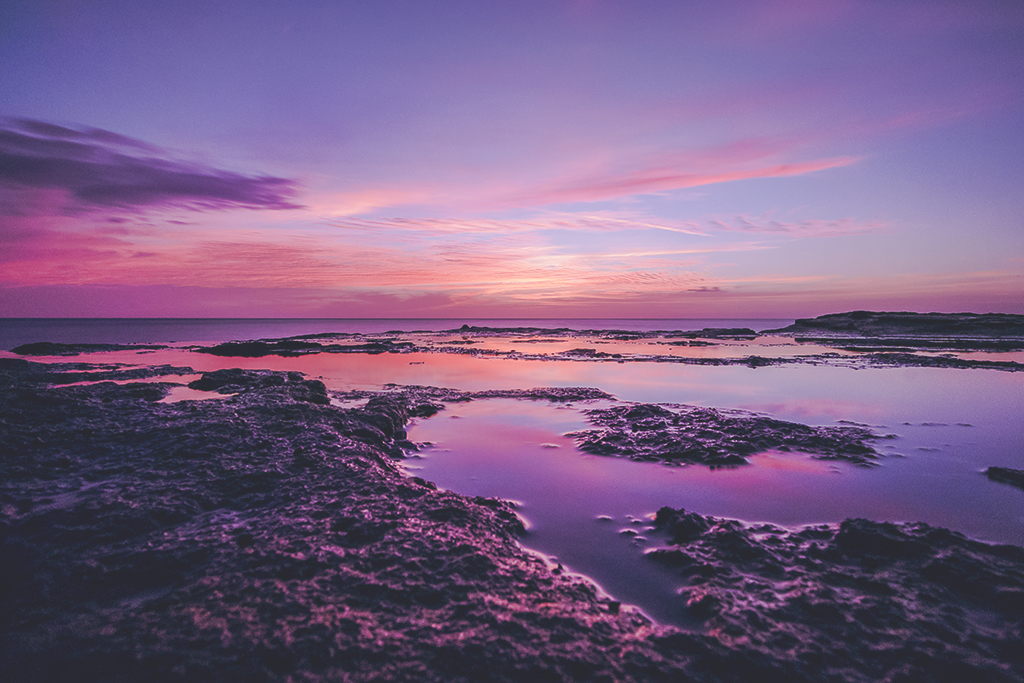
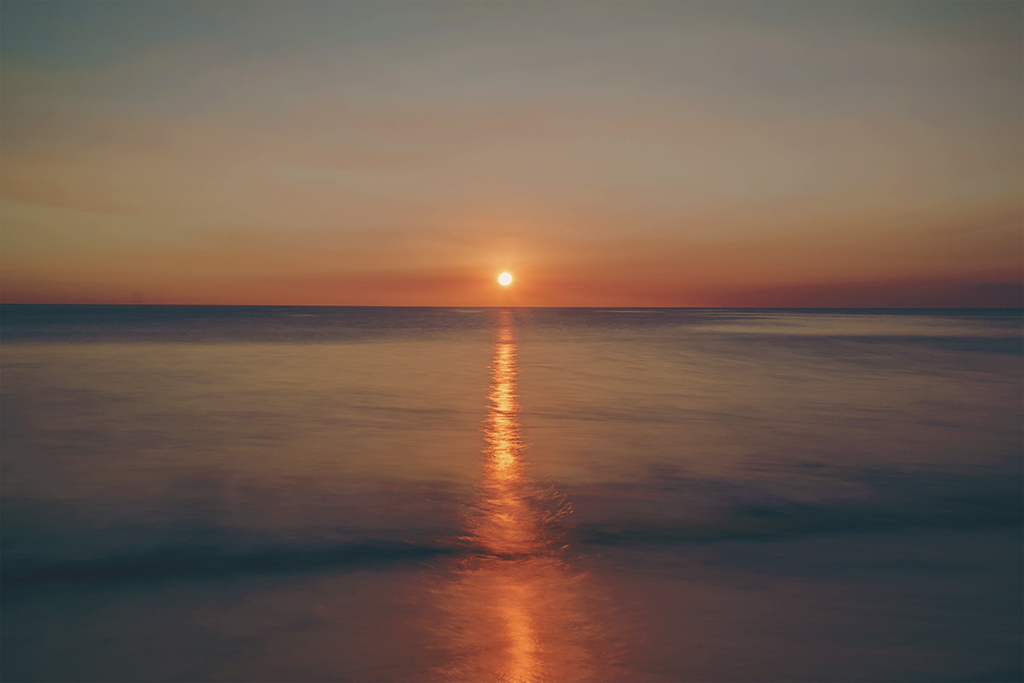
- My favorite is water crashing on waves. That is what will give you the misty, foggy, magical look. Depending on how frequent the waves are, where the sun is, or the look you want; your shutter speed can vary between 5-25 seconds with the other settings remaining the same.
- Clouds:
- Clouds are a great way to add some drama to long exposure images. If you happen to have a favorite building or high-rise; these shots look great when you bring clouds into the equation. The soft wisps of the clouds contrasted by the sharp elegance of the architecture makes for a striking image every time.
- Crowds:
- If you happen to be taking in the sites and have crowds to deal with, long exposures are a great way to eliminate them. By enabling Bulb Mode on your camera, and leaving your shutter open as long as possible, perhaps several minutes, as long as there are not people staying put for that time it should be fairly clear.
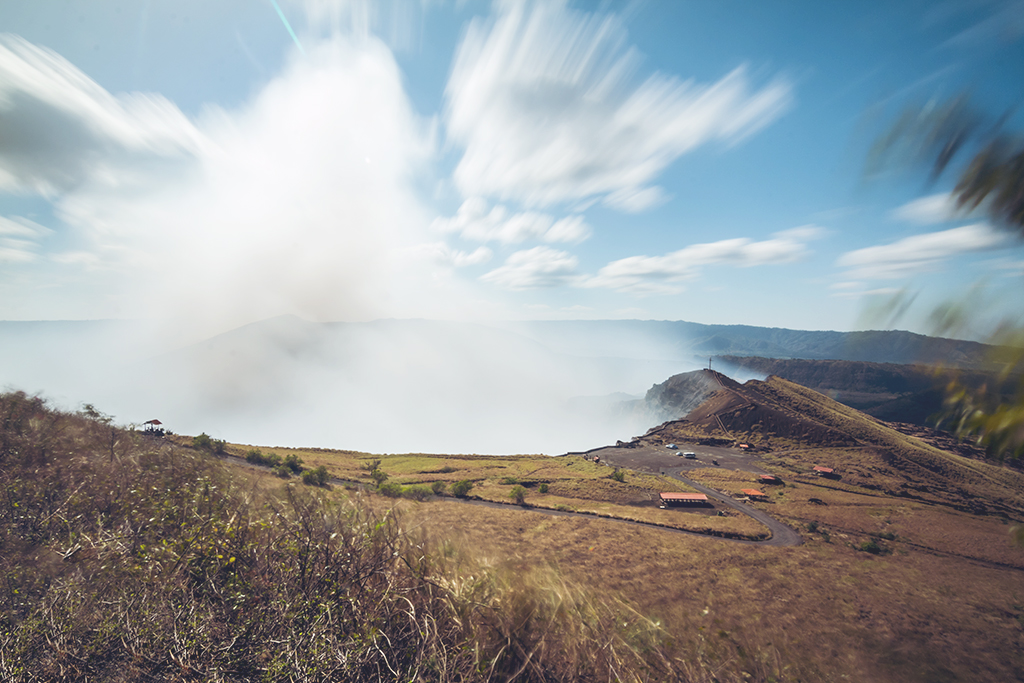
Don't forget to focus. It can be tricky if you are using a lens without the focus window on it. What I recommend is to focus prior to fixing the filter on, set to manual, or even tape if you like. That will keep your focus locked and in position while you attach the filter.
Once you have your shot, it still might require some adjusting for white balance, as conditions can change. Remember to set your custom white balance for when your conditions change and you should get it pretty close right in camera.
Have a question? Send me a message!
Good luck out there.
Dustin


