Automotive Rig Shots
I wanted to share the process I follow when I do my rig shots. People often wonder what happens behind the scenes or what goes into the production of these shots. I decided to set up a shoot to document the process and share with others the details that happen behind the scenes.
When setting out with any shoot, creative or otherwise, it is important to have things organized. I break up the process into distinct stages for easy organization:
Photo Credits: Dustin Veitch, Tashia Walters, Herry.with.an.e
- Pre-production:
- Casting
- Additional Grip
- Location Shopping
- Inventory
- The Shoot:
- Setup
- Shoot
- Post-production:
- Cloning
- Color
- Effects
Pre-Production
I would consider automotive rig shoots creative shoots. To me, that means there is an exorbitant amount of work and planning that goes into the final outcome. Since there is often only 1 final image produced, the amount of preparation to output is very offset.
Once I know that I want to create a shot, I start with the pre-production phase and start to bring my details together. In some cases, I find that some locations would work well with a specific model, or perhaps color, of vehicle. In the example of this case, I knew that Nick's sleek black coupe would look great in an urban environment.
The location that I decided on is a back alley in the heart of Regina's downtown district, and doesn't usually have a lot of traffic. Since we were to be shooting in the middle of the day, I figured it would be a good idea to have an alternate location in case things go sideways. I ended up driving around until I found a spot that I was happy with to use, "just in case".
Now that the location was set, I wanted to make sure that I had all help that I needed. I got in touch with my friend Herry, who I knew would be happy to help out. From past shoots, I know that I can comfortably get everything set up with one assistant, but two is ideal. I don't like needing the driver of the car to assist with holding rigs or doing anything other than driving. It's a good experience for them and I don't want to ruin that by having them help me but sometimes is unavoidable.
Before long, everything was arranged and the next thing on the list was to confirm that I have all of the equipment necessary to do the shoot safely and properly.
Inventory
- 3x Manfrotto Super Clamp
- glass cleaner + micro fibre
- 20' Rig-Pro Boom
- remote
- DSLR
- 2x Avenger F1000
- Manfrotto Variable-Friction Magic Arm
- wide-angle lens
- neutral density filter (ND110)
It is very important that you exercise caution at all times when operating equipment. Ensuring proper procedures and safety measures are followed is key to being successful. I use this list of specific equipment for various reasons but one of the most important is because it is safe and works very well.
It is worth mentioning that I tried to make my own rig. While I did get some good results, it was not worth the time nor the small investment. I am glad that I took much more time and money and invested in the right equipment for the job. Not only is the whole process much safer, but the results are nearly always consistent, which helps keep the quality of the images high, shoot after shoot.
Once I have all of the tools accounted for, it is time to begin the next phase in the process.
The Shoot
The shoot itself is split up into two sections: setup, and the shoot. It is very important to make sure everything is ready, in place, and double-checked before shooting.
To set up the shot, I start by assembling all of the equipment:
- screw together each length of boom
- attach super clamps to suction cups
- attach last super clamp to magic arm
Once I have each of the structural components assembled, I start to put together the rest of the frame. Depending on the shot I want to capture, there are many different things you can do. What I try to do is to make the best of the environment. In this case, I ended up using the texture in the brick wall and the opening between the buildings to pour light through the image.
Assembling each length of the Rig-Pro aluminum boom. Each segment is color-coded to ensure the threads are consistent and to prevent stripping of threads.
When I have settled on the vision for the shot, I start to get things set up. First, removing the covers from the suction cups and placing them onto the car. I ensure that the car has been freshly washed (and hopefully waxed), or I will spot wipe with the glass cleaner to confirm that no dust is present. If there is dust, repeated use with the suction cups can cause scratched paint so I make sure that everything is clean.
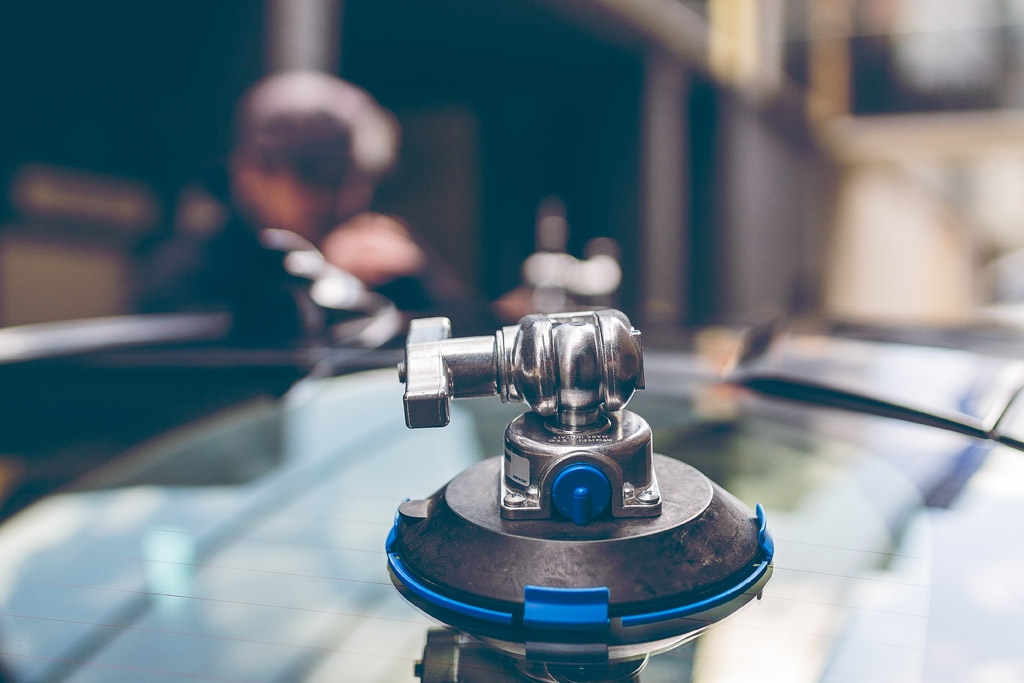
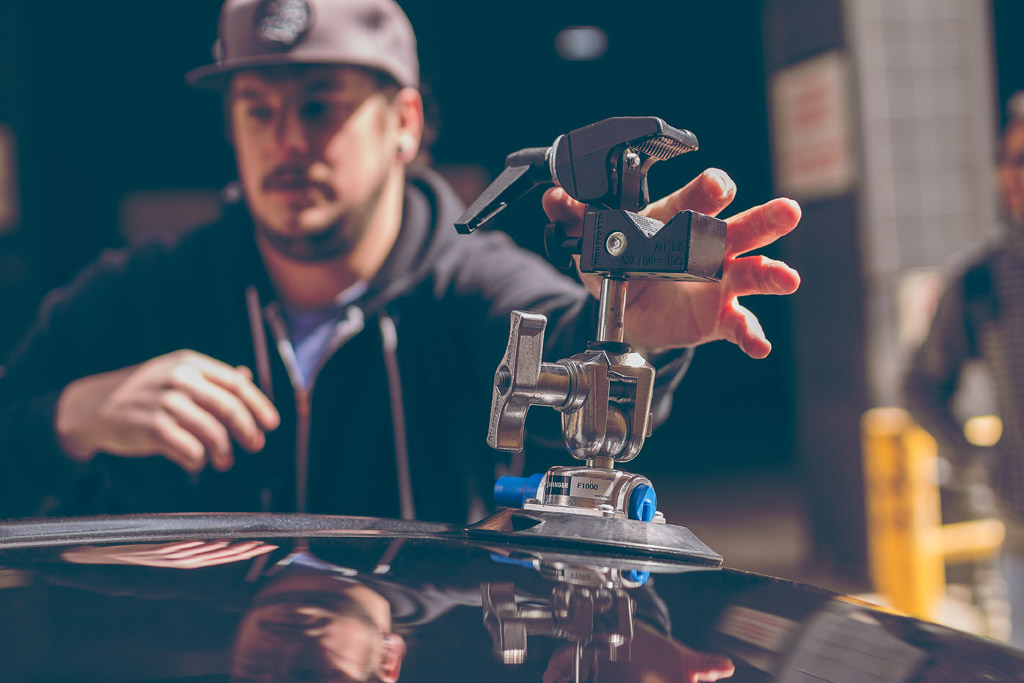
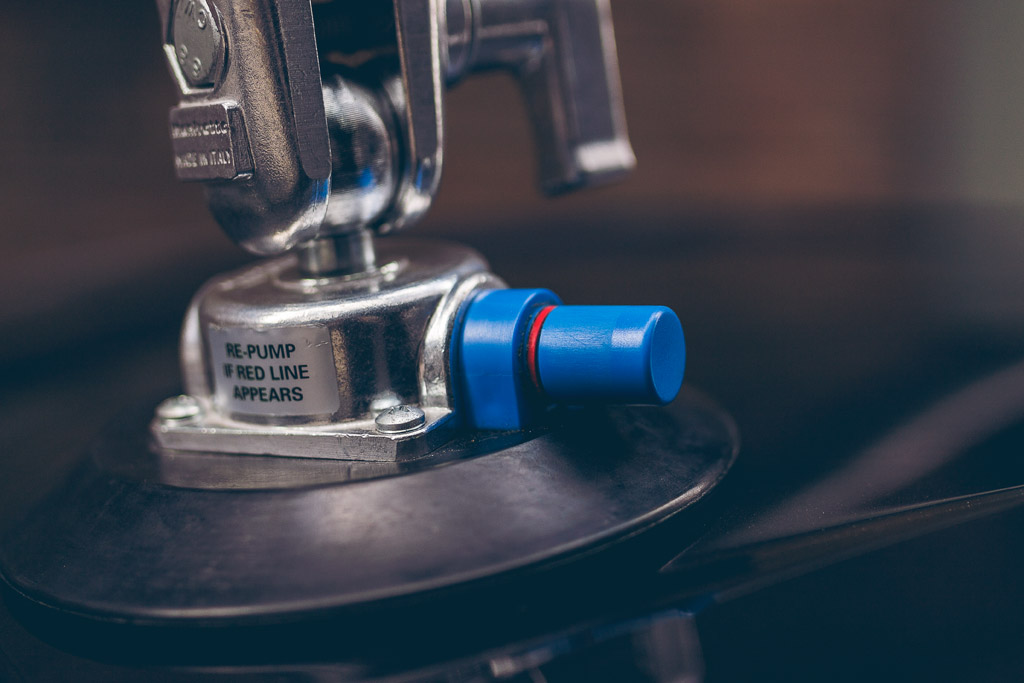
I place the suction cups on the car just to make sure the angle is correct. When I place them on, I usually place them on a diagonal from wheel to wheel, rear-seat passenger-side to driver-side seat. I have found that this is the best angle to work with as it usually produces a great shot.
The next step will be to lock in the position by pumping the suction cups to ensure a proper hold. Each cup is fitted with a small pump featuring a small red line. Simply pump until the red line disappears and you will know there is a solid hold. From there on out, make note to occasionally check each pump to ensure that no red is visible. If the red line reappears, I simply just pump until it achieves the proper seal once again.
Now it is time to add the boom. This is where it really pays off to have an assistant. Before lifting the rig above the car to attach, I loosen each of the super clamps attached to the suction cups. This will make it easier to rest the boom into its final resting position, while still being adjustable. I usually mount the rig with little to no slack at the end, to get the longest possible angle, but to each their own. Once the rig is in the right position, I lock it in by tightening the grips of the super clamps. From there, minor adjustments can be made by loosening the Avengers and rotating their angle, but I try not to if I can avoid it.
At this point, the boom will be attached to the car with no red lines showing. Then I mount my camera to the plate of the magic arm and the super clamp that its attached to, to the boom. The super clamps are very easy to work with and grip exceptionally well. Not only am I really confident in them but it really helps put my mind at least during these shoots.
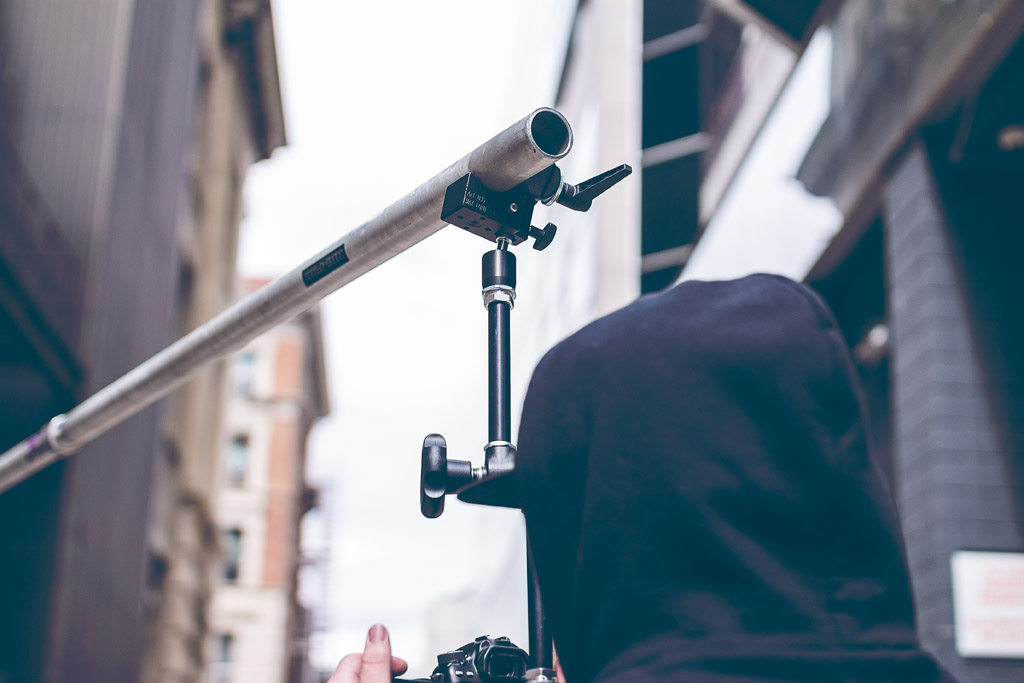
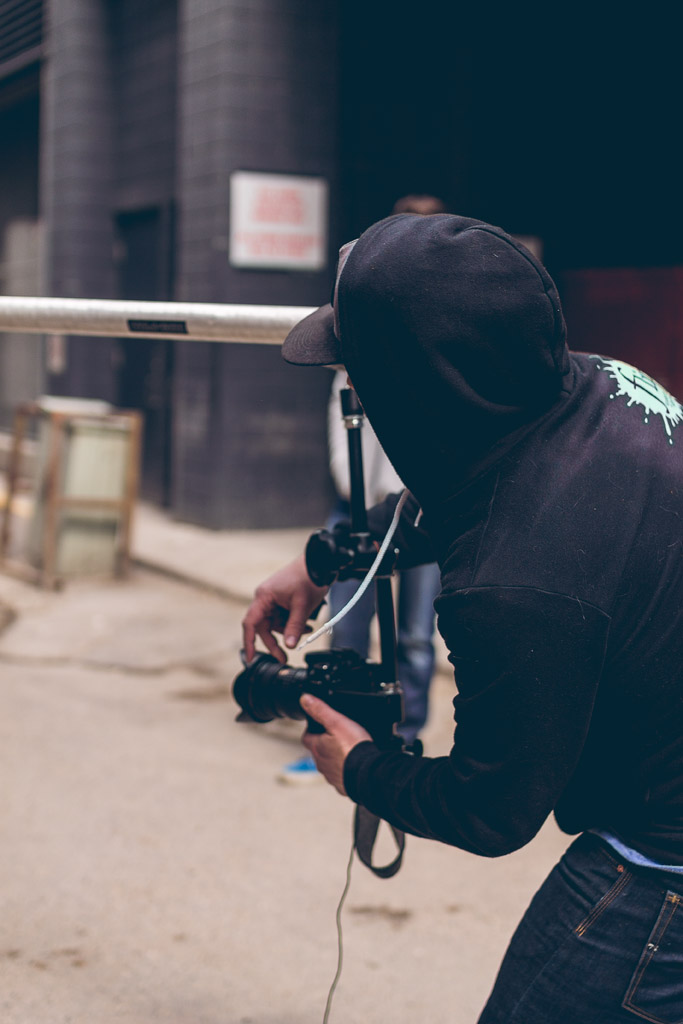
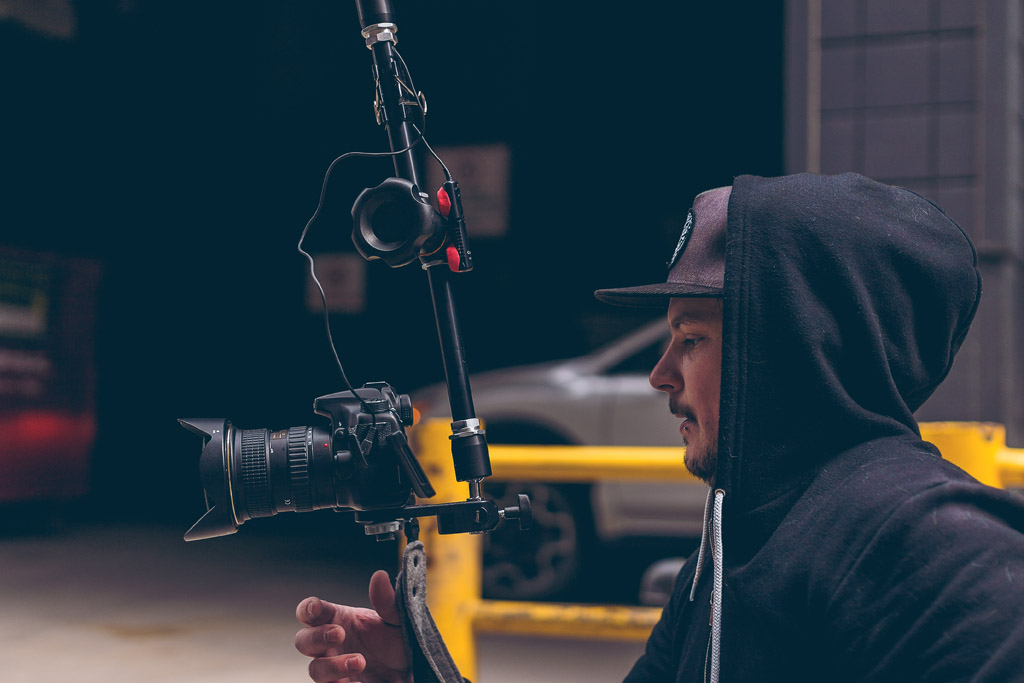
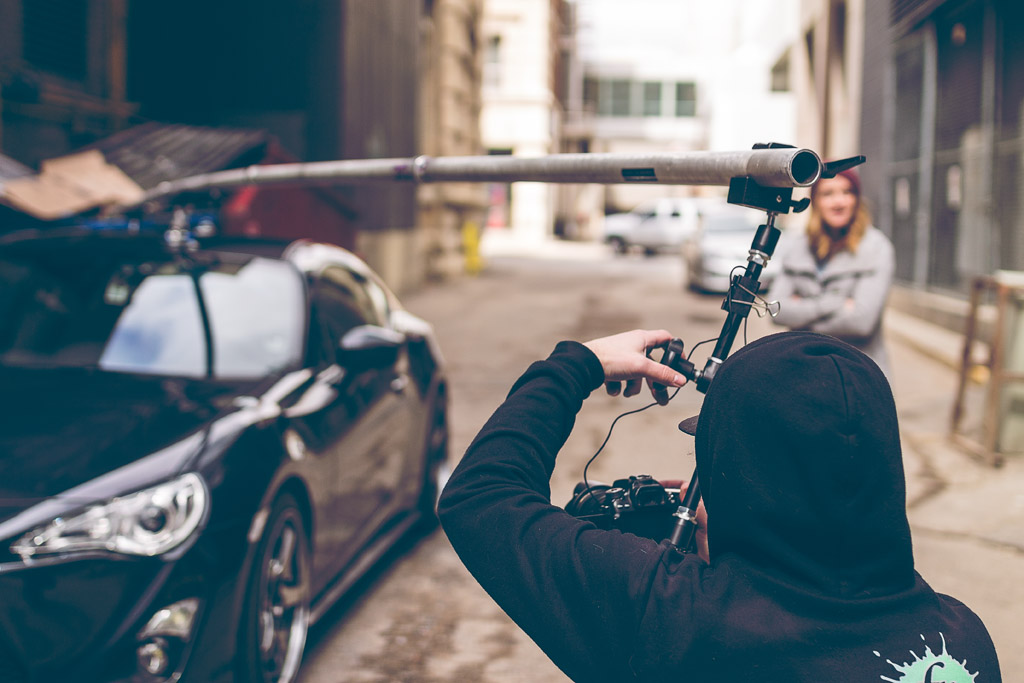
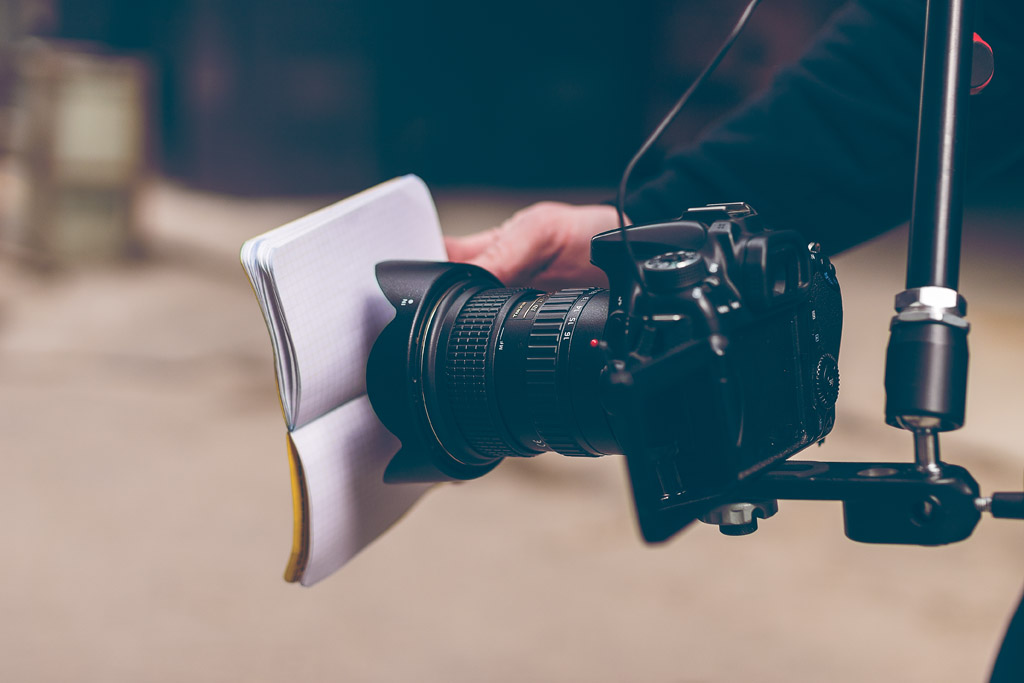
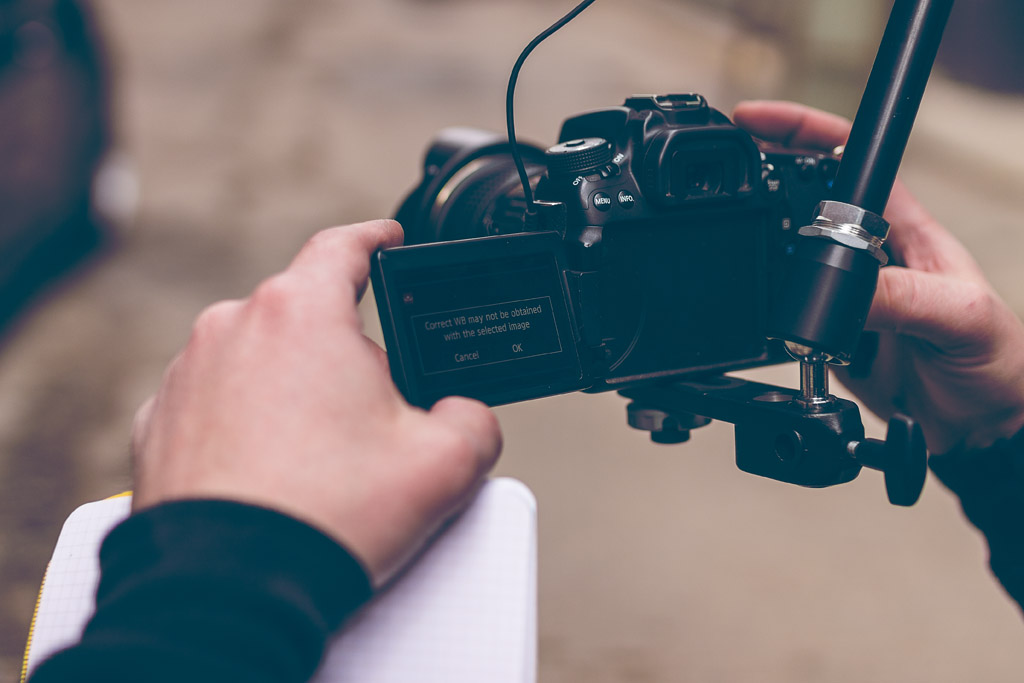
Once it is all connected, I then frame the shot and make sure it is level using the in-camera level through the LCD. Once I frame the composition the way I want it, I focus manually, and add the filter to the lens. To be honest, I don't often calculate the proper exposure for use with ND filters. I start by selecting the ideal aperture value, and with my Tokina 11-16 f/2.8, is about f/11. From there, I adjust the settings to get enough light for my environment. Another thing to note is that you want a nice lengthy exposure, anywhere from 7-20 seconds. I make sure to fire off some test shots to make sure the exposure is correct, then I move on to white balance.
Since I am using a dark ND filter, I usually get some purple color cast in the images when using default WB settings. Although it is very easily treatable, it is really nice to get it right straight out of camera. To do this, I use Custom White Balance.
Custom White Balance:
- Take exposure of pure white (such as notebook paper, or snow) with filter on.
- Go to Menu > Custom White Balance.
- Select the image from Step 1.
- Change White Balance to 'Custom'.
What you are doing here is telling the camera what neutral white is. This way, your camera will correct any color casting that shows up by adding either green/purple or yellow/blue.
Shooting:
This is the truly fun part as long as nothing goes wrong. As long as the right precautions are considered, everything usually goes well.
Some of the things I make sure of before I start:
- Driver is in position and has been briefed on how the shoot will go.
- Assistant is in position and is ready to push the car.
- Car is in neutral.
- No red lines are visible on suction cups.
- Camera is set up for desired composition.
- Custom white balance is set.
- Proper exposure is set.
- Focus is dialed-in.
Once everything has been checked, it is time to begin. I start by getting the car moving very slowly and very smoothly and then open the shutter. I make sure to be vocal to let the rest of the team know how it is going, for example, for speed. I wait until I can see the first exposure and if everything looks good, I just keep the button on the remote locked and try to keep a watchful eye on the scene. It is important to be aware of your environment such as with traffic, pedestrians, or other variable elements.
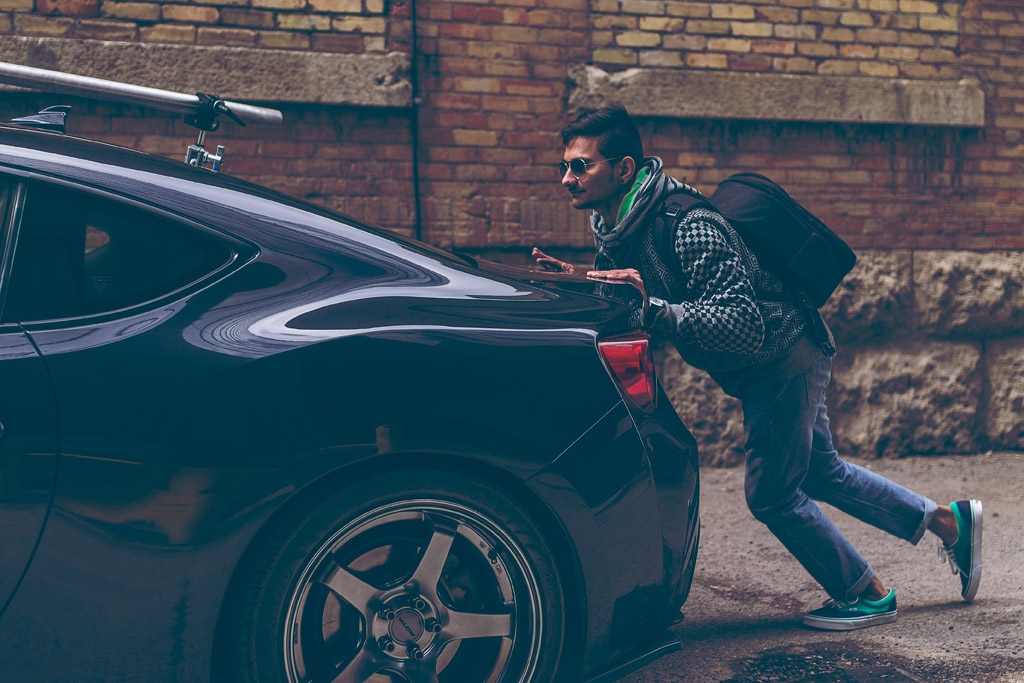
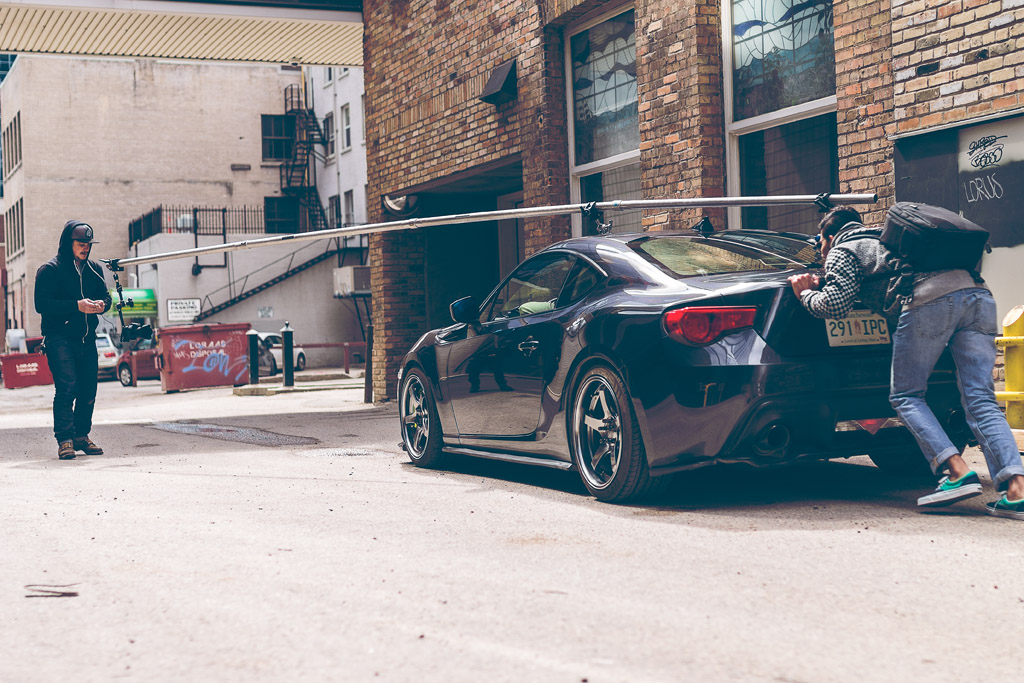
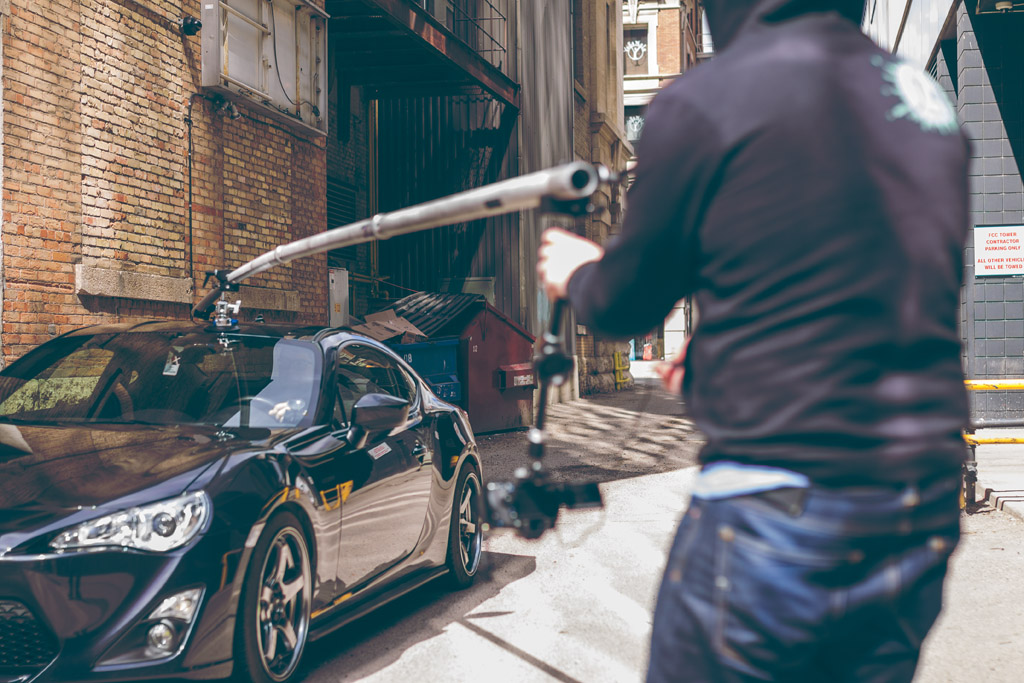
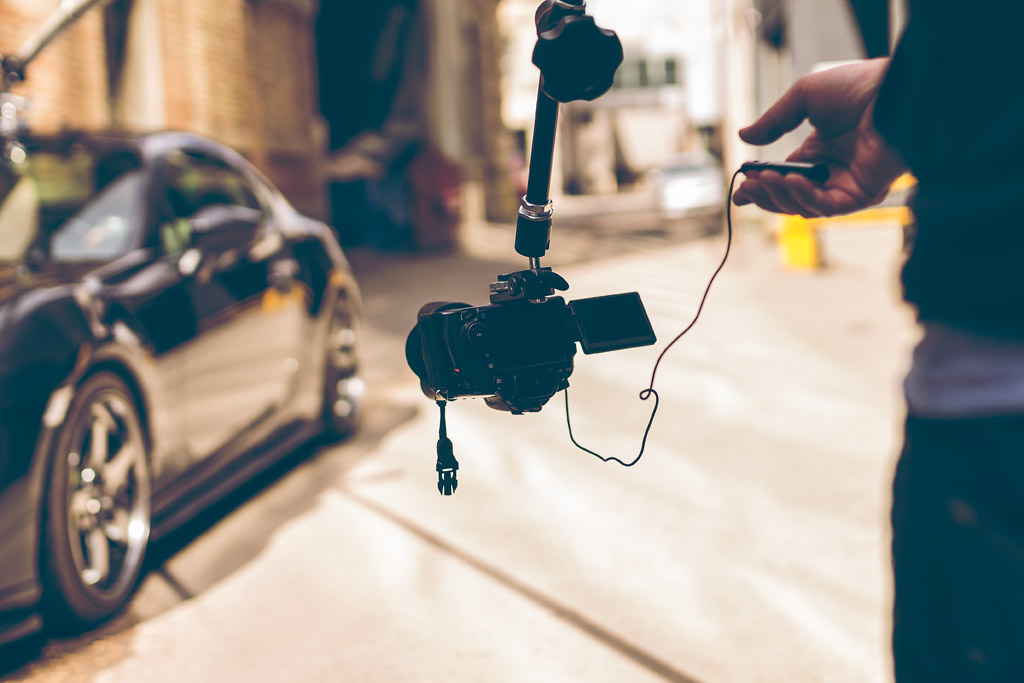
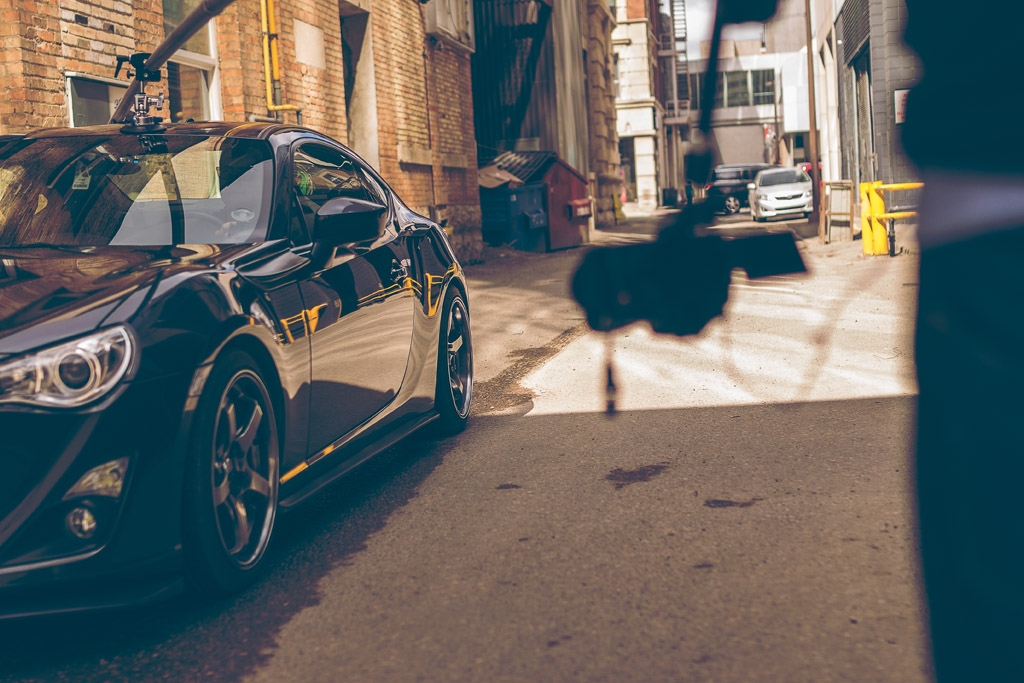
If I notice that there is some play in the boom and it is starting to bounce, I try to cushion some of the movement or tell the team to slow down a bit. I find with the very wide angle (11mm) that I rarely get enough camera shake to really throw off the sharpness of the image, but that comes with practice. After a short run, I let the team know to stop so we can review the images and shoot again with desired improvements. It's good to quickly analyze the images to see if the angle needs to be adjusted, or perhaps the timing is off and the exposure needs to be longer. It's good to make adjustments to get the image exactly the way you want it.
From here, repeat the process as needed. Sometimes I like to switch it up and go for a different angle such as from the back or to adjust the suction cups to allow a higher angle. With higher quality equipment, it makes the possibilities much more variable than with equipment that barely works. I find now that I have a few of these shoots below my belt, I am looking for better locations such as environments that help give the image a mood. Whether it be an urban alleyway or a long winding road at sunset, that is what is going to set images apart from the others.
That brings us up to the final section, which is usually the most intensive.
Post-Production
This section is the most involved part of the process since most of the work is manual and can be tedious.
I start by processing the raw images in Adobe Camera Raw, touching up levels here and there, adding in some Clarity and Contrast. After these adjustments, I open directly in Photoshop CC.
I start by duplicating the base layer and removing the rig. To do this, I use the Quick Select tool to roughly outline the rig/suction cup then I choose Select > Modify > Expand, 5px. Then I right-click > Fill > Content Aware. This will auto fill the area using content aware which usually works fairly well right out of the box. From there, I clone out the rest of the visual debris, reflections, and any other imperfections or distractions I can see.
I like to spend a good amount of time making sure there are no traces of the rig or imperfections. It makes for a cleaner image and looks just that much better.
Once the boom has been removed from the frame, it is then time for other adjustments to the overall image including color correction and effects. I won't go into too much detail for the different adjustments I make since they vary for each image depending on the theme and feeling. For the image in this example, I added in some light leaks for the bright orange color and added some extra punch to the car to get the sharpness and contrast.
Setting the radial-blur. Increase the amount to get a good idea of where the perspective lines up then reduce to about 7.
To finish selling the effect of high-speed, I added some radial blur, set to zoom (best quality, 7px), and selected the vanishing point to correspond to the same point in the image. I then masked out the main body of the car but leaving some areas to give the sense of motion.
Lastly, I finished off with a Levels adjustment layer to correct the color and got everything looking silky-smooth. The details in post-production really vary from shoot to shoot, depending on the creative direction I have in mind, so there isn't a nice elegant way to sum it up nicely. From working on multiple shoots and experimenting with different environments, I have picked up a few different styles that I like to try to come up with something original.
As with all post-production work, everyone seems to have their own style. If you have any tricks that work for you, feel free to share them in the comments along with any questions you have.
Until next time, cheers!
Dustin


